Connecting a Stripe Account
This article will take you through the process of creating a Stripe account and connecting it to your Jewcer campaign.
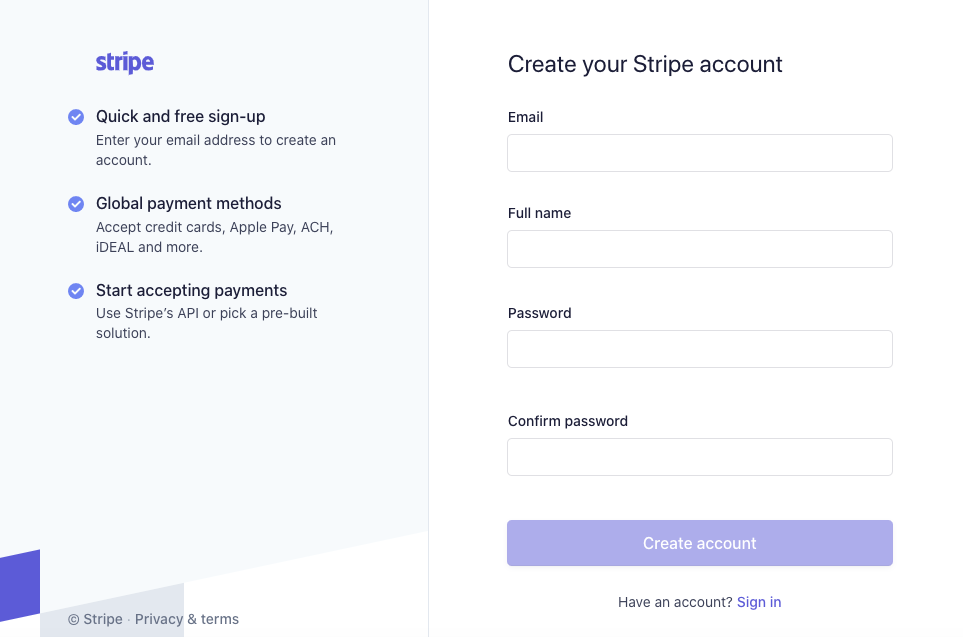
Step 1: Register at https://dashboard.stripe.com/register
Step 2: Once you register, you will land on your Stripe Dashboard:
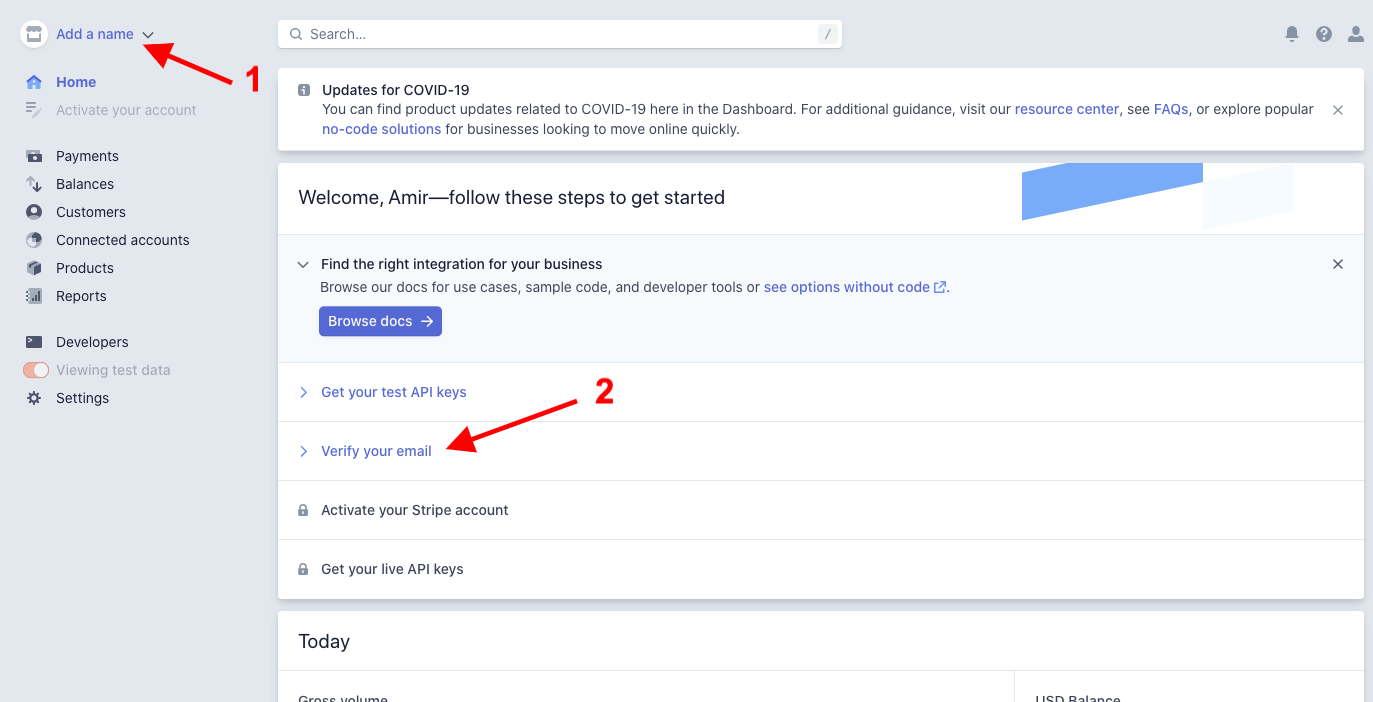
You can name your Stripe account (for example if you have a few of them), but it is not required. Next, head over to your email inbox and find the verification email that you got from Stripe. If you cannot find it, please check your spam folder. You can also ask Stripe to send it again from the section above.
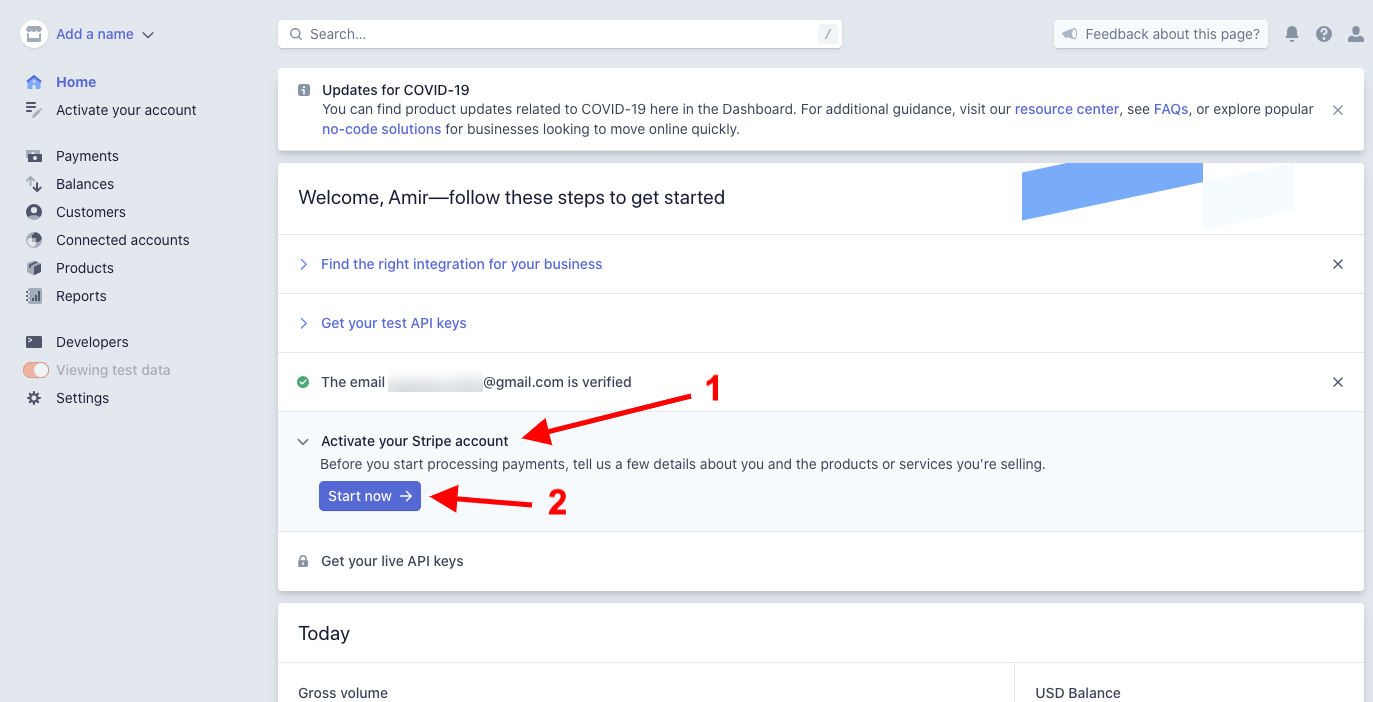
Step 3: Activating your Stripe account
Once you verify your email, head back to the dashboard (you may also need to reload it), it will show a check mark next to the verification section. Next, you need to ACTIVATE your Stripe account. Click “Activate your Stripe account” to reveal the “Start Now”, click it:
This will take you to the activation process. Fill in all the information you are asked:
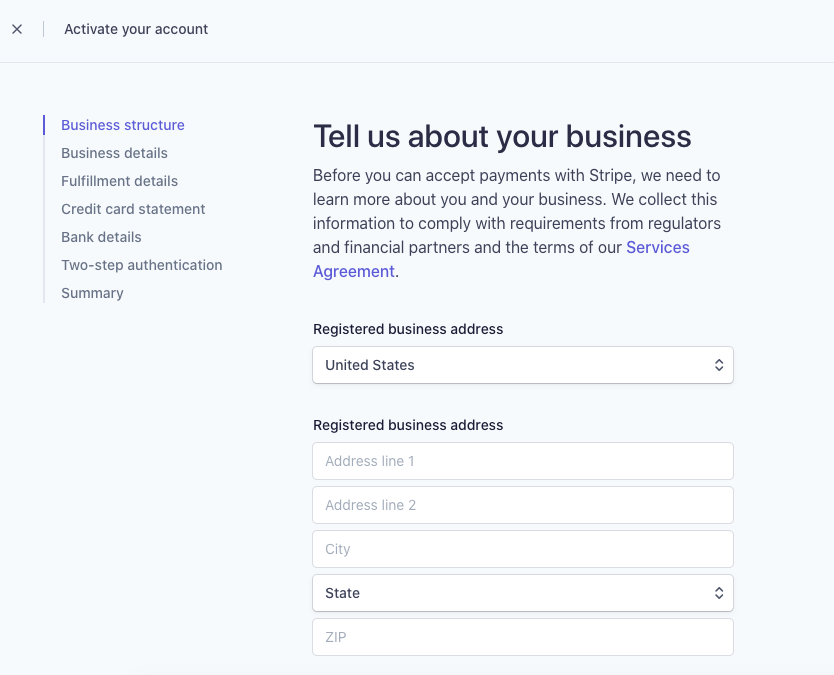
Please go through all the steps and provide all the information needed. If you have any questions about any of the sections, please email support@stripe.com (you can also email us to help@jewcer.com separately, but typically, we will advise you to contact Stripe).
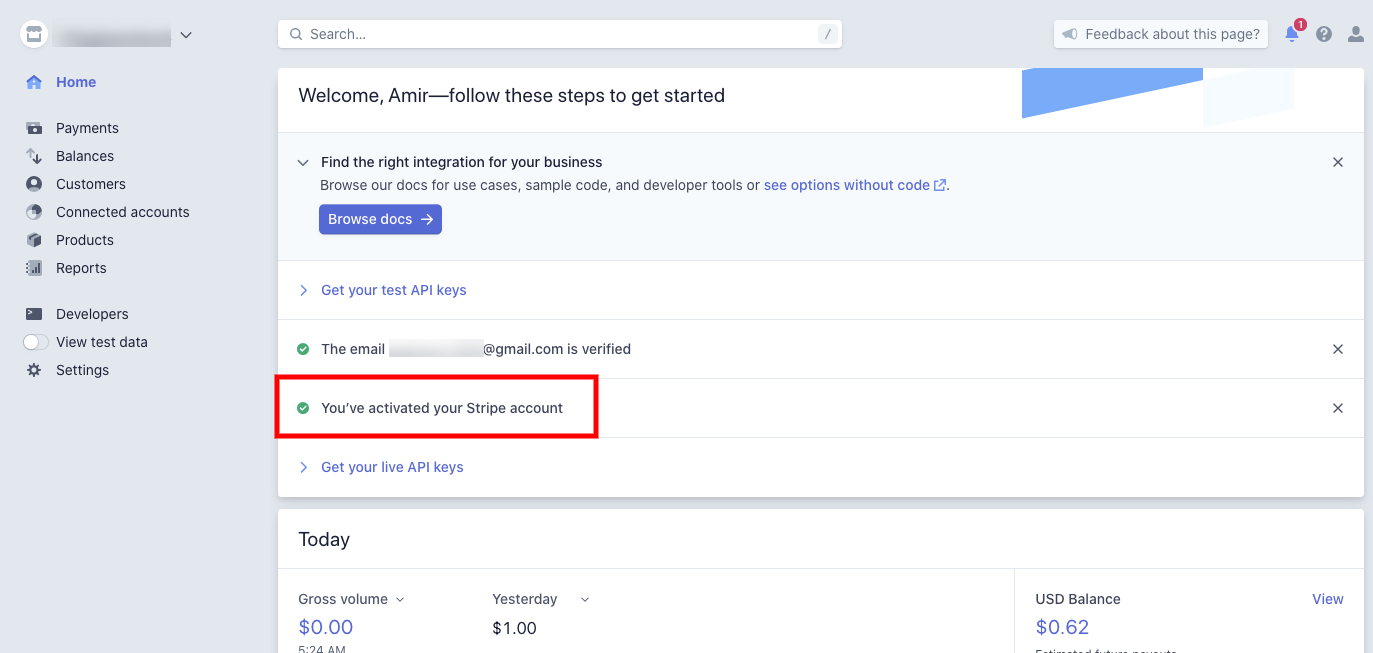
Once your account is activated, your dashboard will show:
Step 4: Connect your Stripe account to your Jewcer campaign
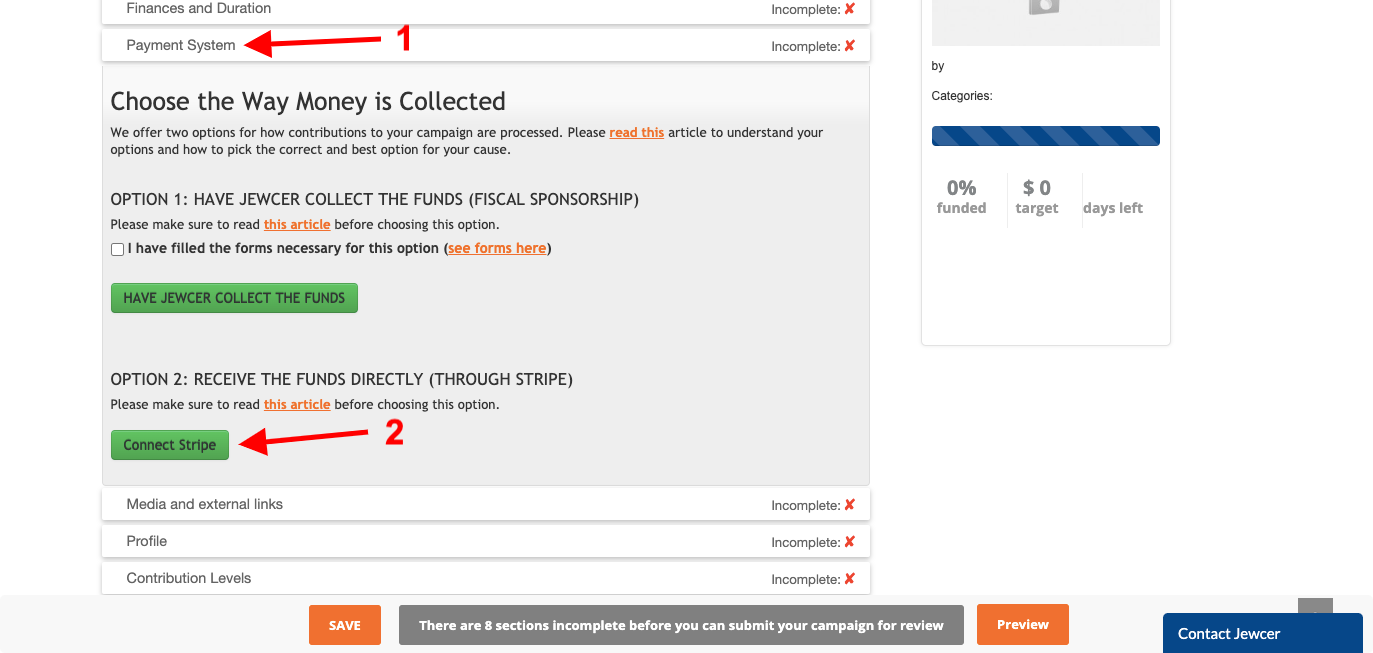
Once your Stripe account is activated, you are now ready to connect your Stripe account to your Jewcer campaign. Head back to your campaign page editor (in the section “Payment System”) and click “Connect Stripe”:
If your Stripe account is logged in in the same browser, you will see:
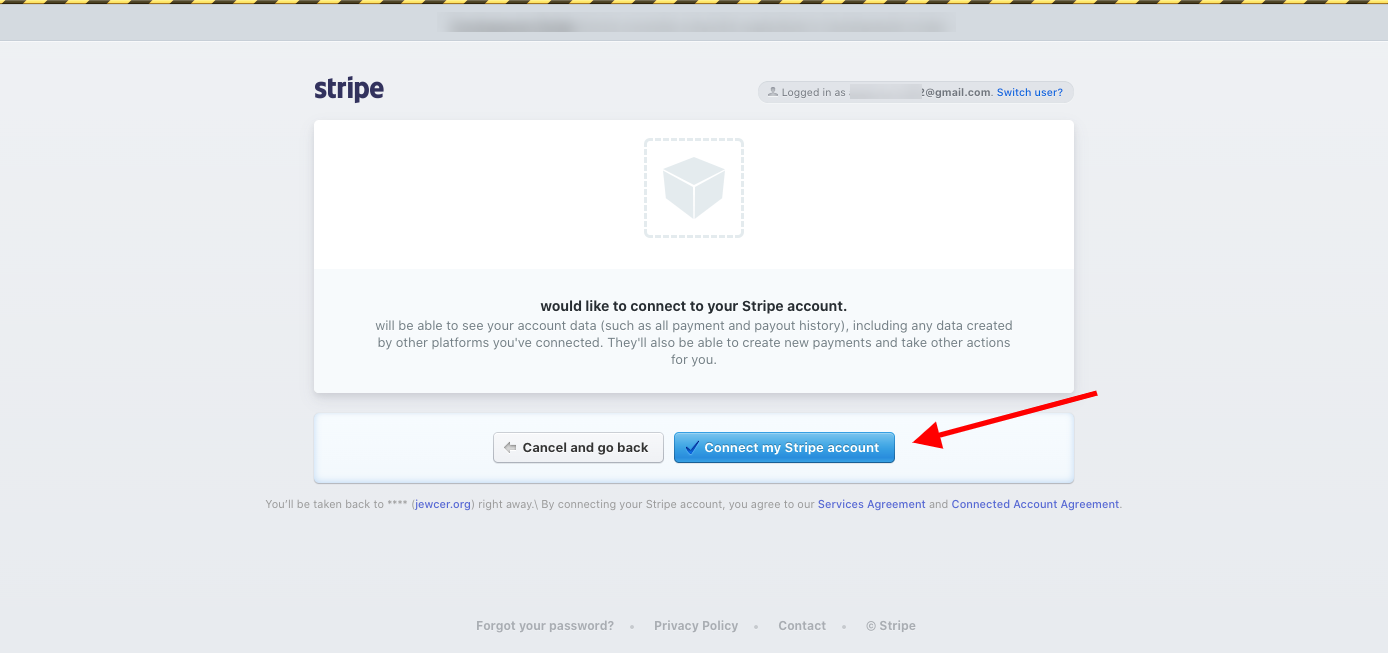
Click the “Connect my Stripe account” and you will land back on the editor that will show that you now connected Stripe.