Adding images to your campaign description
Our platform allows you to add images in between your text description of your campaign to make your story more visually compelling. This tutorial will explain to you how to do it. Please read it all the way to the end as it contains important suggestions that would help you raise more money.
Before we get started, we should mention what is the ideal for crowdfunding:
- Images you upload should be at least 800 pixels wide
- Images you upload should not be too high so the viewer does not need to scroll too much. Ideally about 400 pixels high.
- Images should cover the whole width of your description.
- Images should not link to any page externally to your campaign (you want to keep viewers on your page to donate).
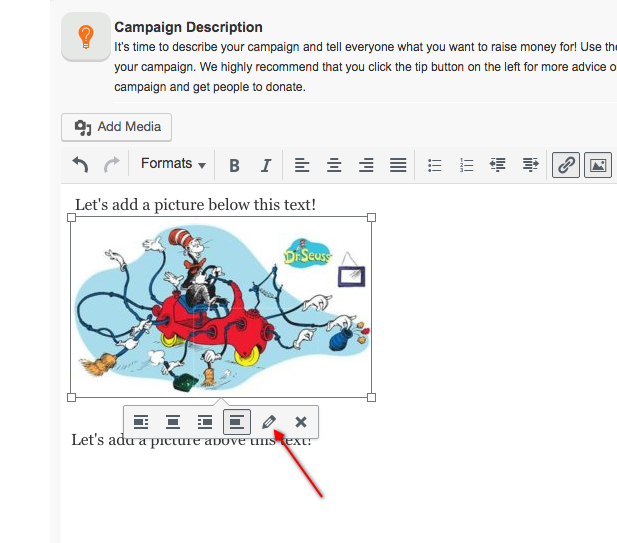
Start by deciding where you want to place an image and place the text cursor there (see “1” in the image below):
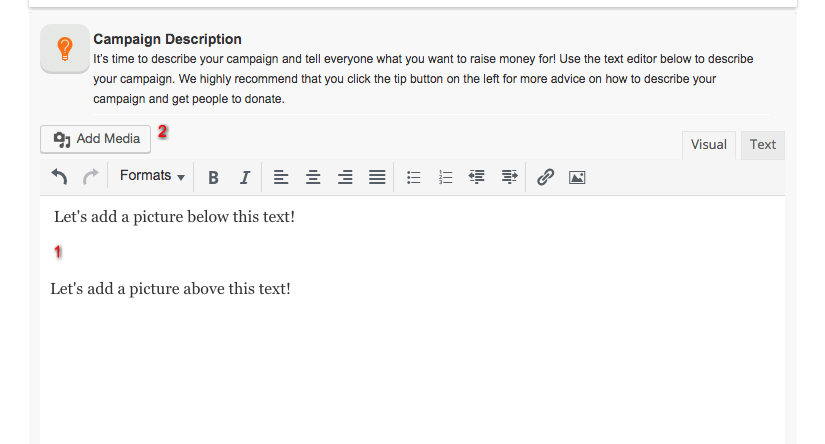
Then click the “Add Media” at the top (see “2” in the image above).
A window will pop up that looks like:
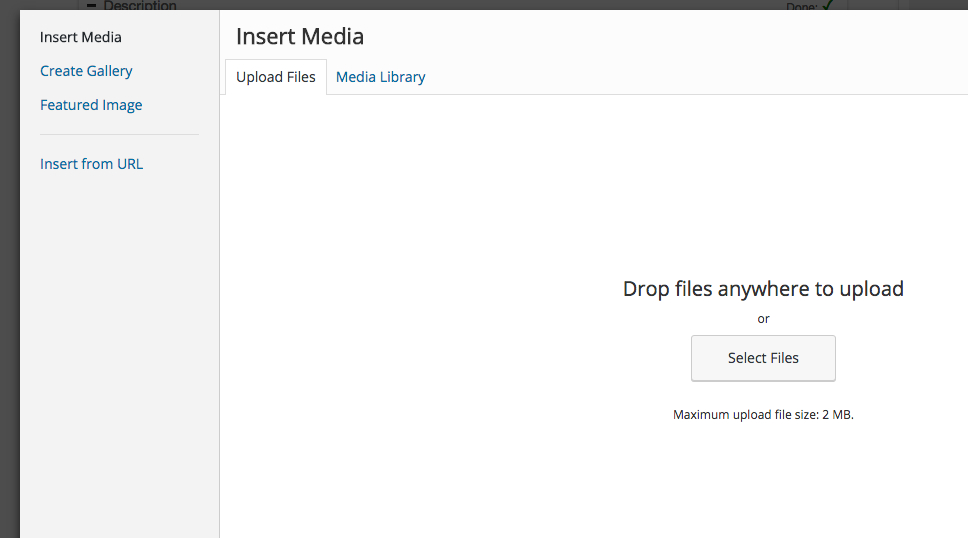
Click on “Select Files” in the middle and choose the image you want to upload from your computer. We recommend you use JPEG images and no larger than 2MB. The result should look like this (with your image):
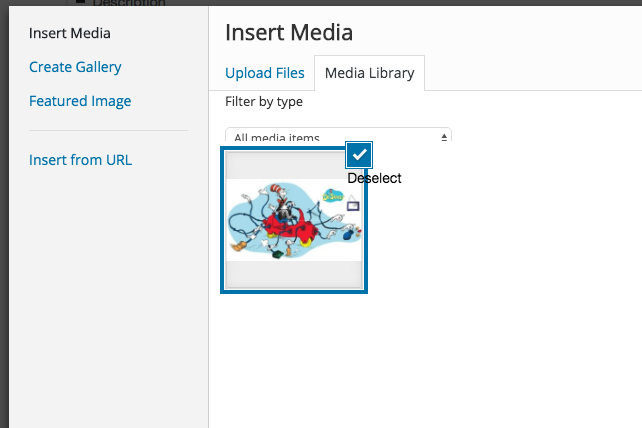
Make sure the image you want is selected and then click the button at the bottom-right “Insert into page”
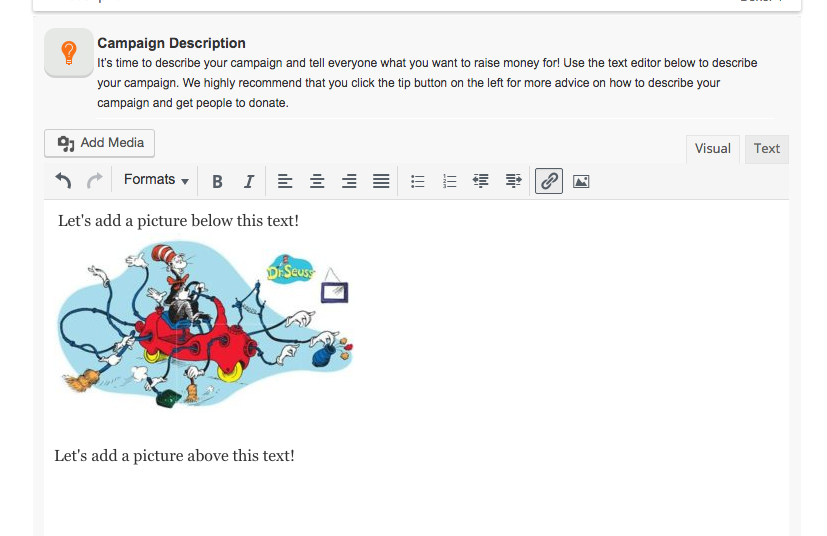
Once you do that, the image will appear in your text:
The default placement is too small, so you can click on the image, and see this:
Once you click on the pencil icon, you would see this:
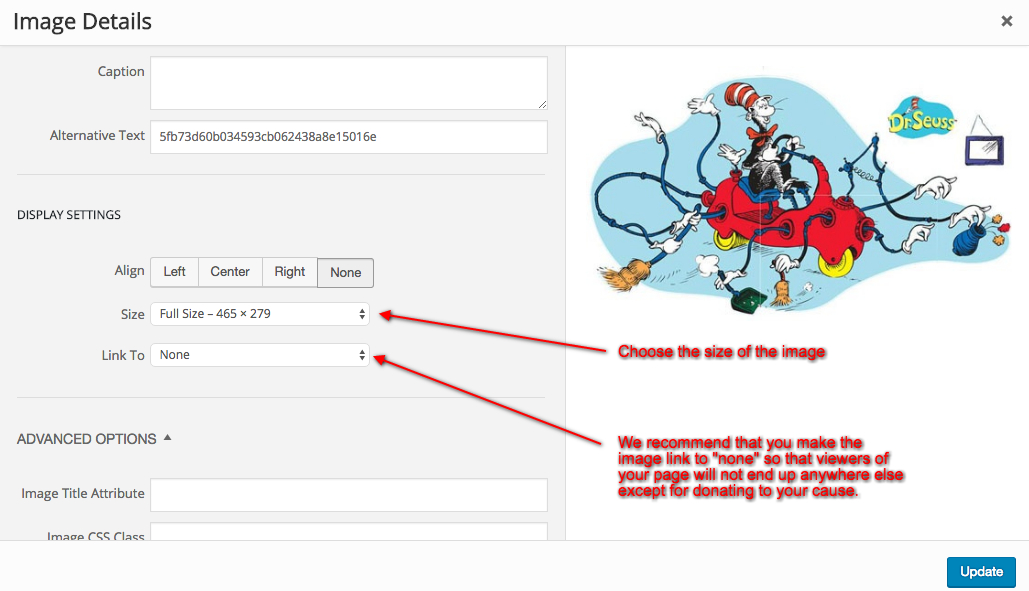
- Change the “Align” to “Center”.
- Change the “Link To” to “none”.
- Change the “Size” to “Full Size”.
Click “Update” and you would see the image in full width on your description (as long as the image is large enough).